DaVinci Resolve MCP: Edit Free, Post to Social Media
Which DaVinci Resolve MCP path still works free after 21.1, and how your agent gets the render onto social media without a second tool.
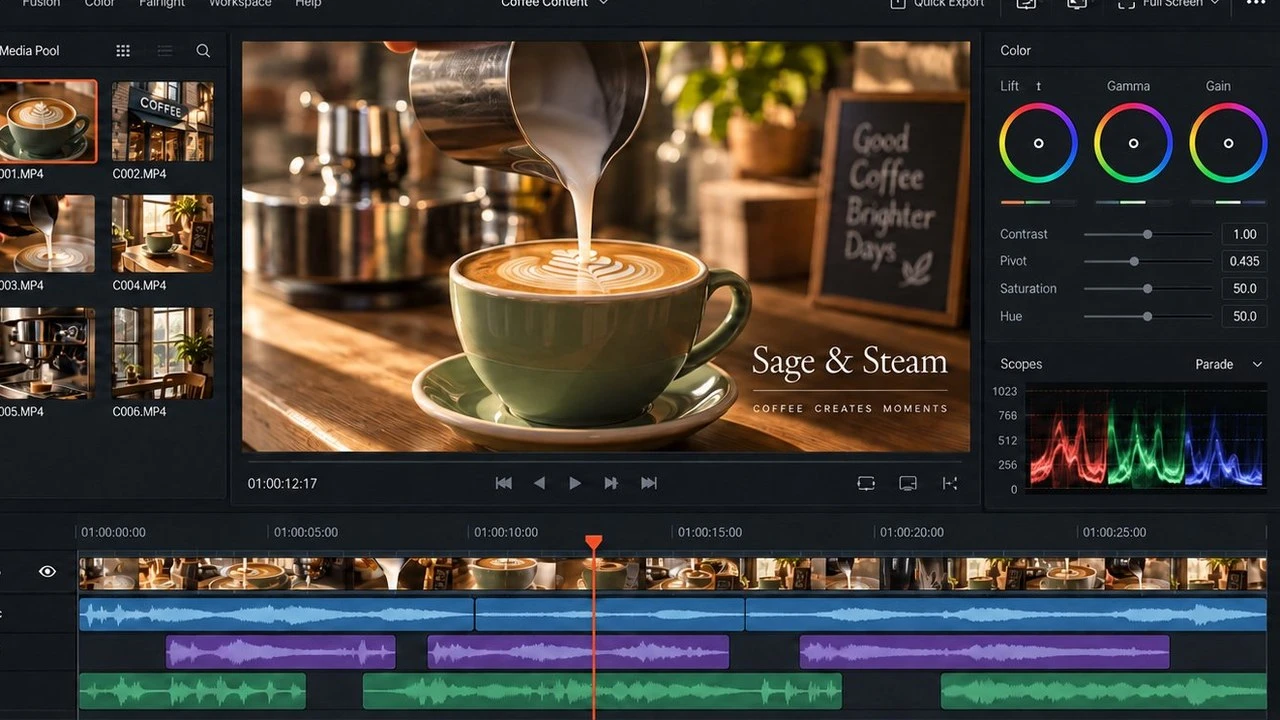
DaVinci Resolve MCP puts a real video editor behind your agent, and the interesting part is not that it cuts the footage. It is that the cut never has to stop being your agent’s problem. I pointed one at a folder of coffee shop clips and it came back with three finished 30-second videos, then scheduled all three to social media in the same conversation.
Most guides to this setup stop at the render queue. A rendered file sitting on your desktop has not reached a single customer yet, so this one covers the publish step too, and it is honest about which version of Resolve still works for free.
What DaVinci Resolve MCP Actually Is
Over MCP, your agent reads the DaVinci Resolve media pool, orders the shots, adds titles, drops in music, and renders the file. The edit is the easy half to imagine and the cheap half to automate. What decides whether any of this is worth wiring up is whether the render leaves your hard drive.
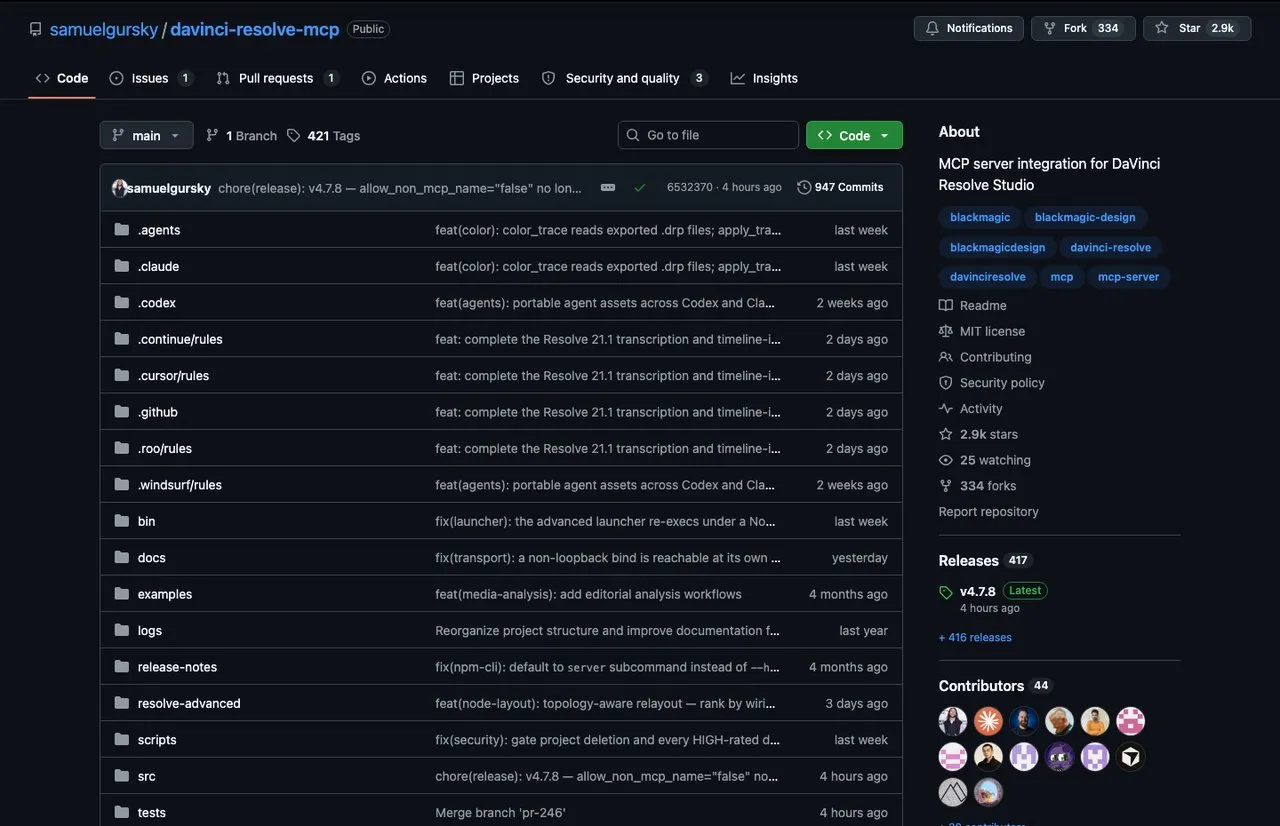
There are two ways to connect, and which one applies to you depends entirely on your version. Blackmagic shipped a native MCP server in DaVinci Resolve 21.1, and it is Studio only. The open-source davinci-resolve-mcp server by Samuel Gursky reaches the free edition through a small bridge script, and that is the path I used.
DaVinci Resolve MCP: Free vs Studio in 2026
The 21.1 release changed the math for anyone on the free version, so check this before you install anything.
| Setup | MCP support | Cost | Catch |
|---|---|---|---|
| Free 21.0.x + open-source server | Yes, via in-app bridge script | $0 | Bridge runs inside Resolve, you restart it each session |
| Free 21.1 | Treat as unsupported | $0 | 21.1 moved Python scripting to Studio, and the Scripts menu has been reported to stop listing .py files |
| Studio 21.1 + native server | Yes, built in | $295 one time | No third-party install, no bridge |
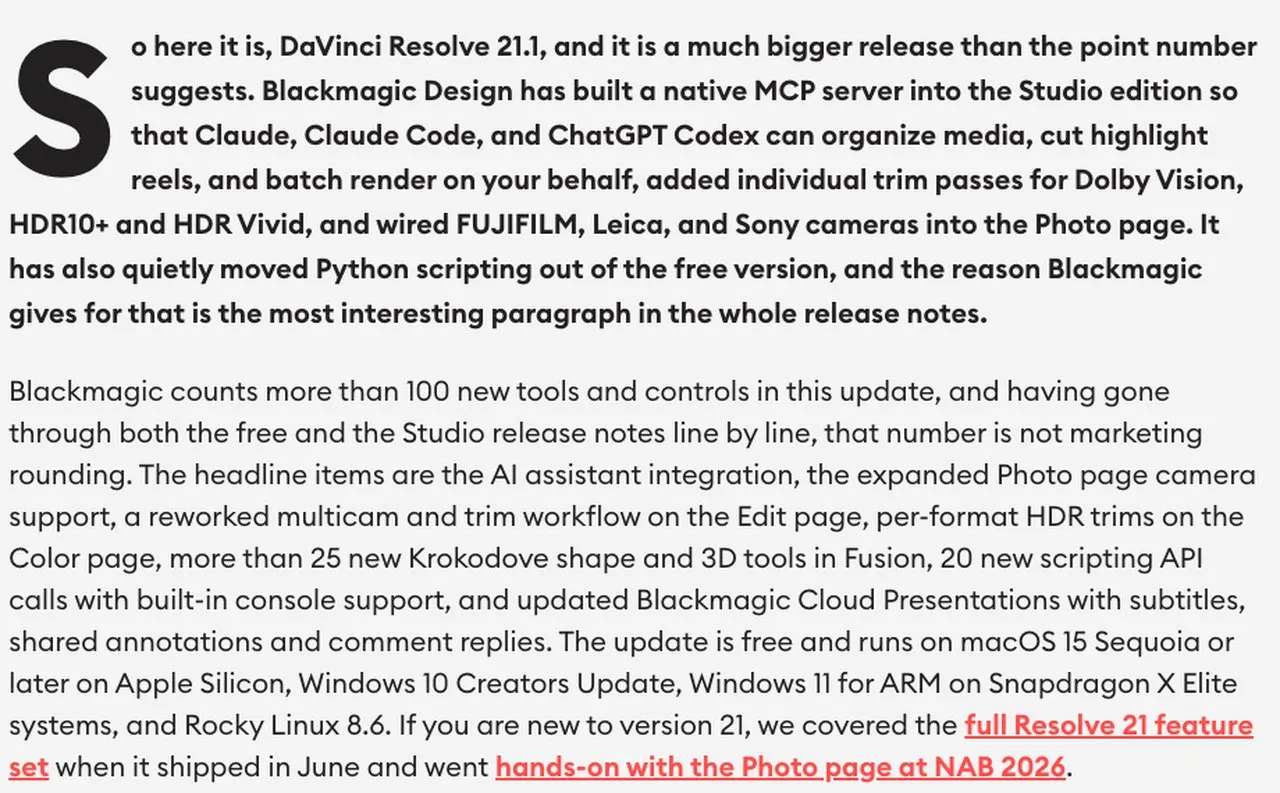
Blackmagic moved Python scripting to Studio in 21.1 and dropped Python 2 entirely. The stated reason was that the Python API was being used to hack Studio features into the free version.
Here is the line between what I checked myself and what I did not. I ran this whole build on free 21.0.3 and the bridge worked, so that path is firsthand. I have not run free 21.1, and the reports there are that the Scripts menu stops listing Python files, which would take the bridge with it. Until someone measures it properly, treat 21.1 as the version that ends the free path, and do not update Resolve mid-project expecting your agent to still reach it.
If you are already on Studio, use the native server and skip the install entirely. If you are on free 21.0.3 like I was, the bridge works and costs nothing.
If you would rather not run a video editor at all, making AI videos with Claude Code is the same publish pattern with a code-generated render instead of a timeline.
This is the whole reason I run the publish step through Blotato instead of wiring up platform APIs by hand. Resolve gets you a finished MP4 on disk, and every social platform then wants its own auth, its own upload flow, and its own video spec.
Blotato is an app I built. I founded the company, so take my read on it with whatever grain of salt feels right. If you want to test the full loop on your own account, start with a Blotato plan, connect Instagram, and let your agent schedule the render it just made. Note that API and MCP access needs a paid plan rather than the trial, which is the one thing that trips people up here.
What You Need
- An agent that speaks MCP. I used GPT-6 Astra inside Codex. Claude Code, Claude Desktop, and Cursor all work the same way, and if you are running the publish half from ChatGPT instead, posting to social media from ChatGPT covers the connector setup.
- DaVinci Resolve. I used the free 21.0.3 build on a Mac.
- The DaVinci Resolve MCP server and its editing skills. The MCP gives your agent hands inside the editor. The skills tell it how to actually cut.
- Your photos and videos in one folder. Add your logo, brand colors, and a voiceover recording if you have them.
- Blotato, which takes the finished render, uploads it, and creates the scheduled post on your connected account.
How to Set Up DaVinci Resolve MCP (Step-by-Step)
Five steps from a folder of raw files to three scheduled posts. Start with one video, not three.
Step 1: Connect Resolve to Your Agent
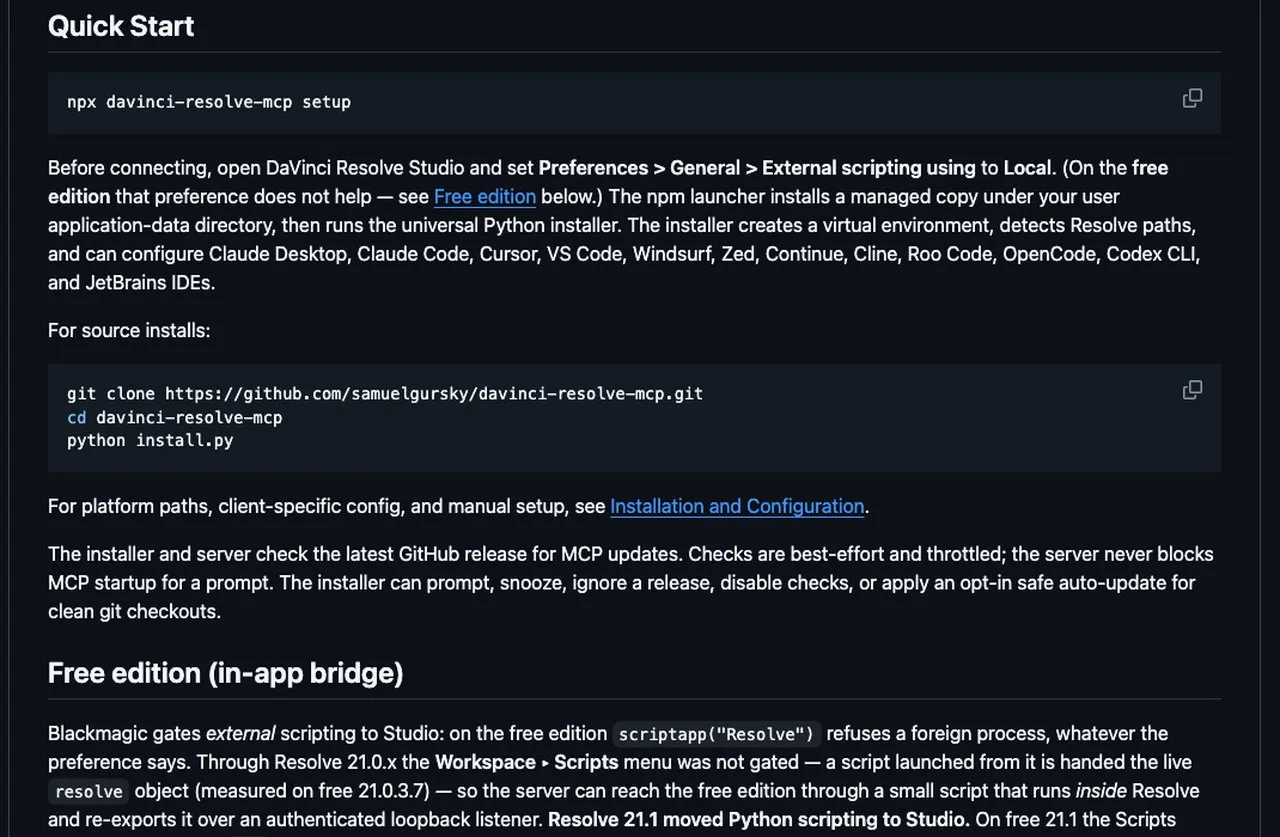
Download and open DaVinci Resolve first. Then open your agent, hand it the davinci-resolve-mcp repository, and ask it to connect the two apps and install the editing skills.
Setup differs by version, so have your agent check yours and tell you what to install. The server wants Python 3.10 or newer, and mine ended up on 3.12.10. On macOS there is a catch worth knowing before you lose an hour: Resolve only looks for Python in two places, the PYTHON3HOME variable and /usr/local/bin/python3. Homebrew, pyenv, uv and conda all land somewhere else, so the script silently never shows up in the menu. An installer from python.org works because it creates that exact path.
After installation, restart Resolve, create a project, open it, then choose Workspace, Scripts, resolve_bridge. That starts the connection inside Resolve. In my setup it did not survive a restart of Resolve, so I run it again each session.
Step 2: Test the Connection Before You Edit Anything
Ask your agent to name your open Resolve project without changing it. Compare its answer to what is on your screen.
If the names match, your agent can read your project. If it cannot, ask it to fix the connection, and expect to quit Resolve once after the fix.
Do not skip this. An agent that cannot see your project will happily plan an edit it has no ability to perform. Most of my “the MCP is broken” moments were really just a bridge that had not been restarted.
Step 3: Point It at Your Folder and Say What You Want
Put everything in one folder. Mine had espresso pouring, milk going into coffee, croissants, and a photo of a croissant and a latte on the counter.
Tell your agent what you sell, who the video is for, and what you want people to do after watching. I wanted three different 30-second videos promoting coffee and croissants, to make people want to stop in for breakfast.
Ask it to explain the planned edit in chat before it touches anything. Read the ideas and request changes first. Music and voiceover are optional, and on-screen text alone works fine.
Step 4: Approve a Style Preview, Not the Finished Video
I did not like the first fonts it picked, so I stopped the edit, handed it three screenshots of coffee branding, and asked for a different style per video. A screenshot is enough, and a font file gets you an exact match.
Then have it build one short preview before the full edit. Can you read the words? Is the title covering the coffee? Fixing a font on a preview takes seconds. Fixing it across three finished videos does not.
Step 5: Render, Then Actually Publish
Once the style is approved, let it finish. My agent arranged the footage, added titles and on-screen captions, put a slow zoom on the breakfast photo, and mixed in narration and music. Adjusting music volume through the connection did not work, so it lowered the track separately and brought it back in.
Export a 30-second, 9:16 video, then watch the whole thing. Can you read the text? Is the product visible? Can you hear the voice over the music? Ask for changes in plain language, then save the Resolve project so you can come back to it.
Now the part the other guides skip, and the only part that decides whether this workflow is real. Your agent has a file on your hard drive. Every social platform wants a hosted URL, its own auth, and its own video spec, which is the point where most people go back to uploading by hand and the automation quietly dies.
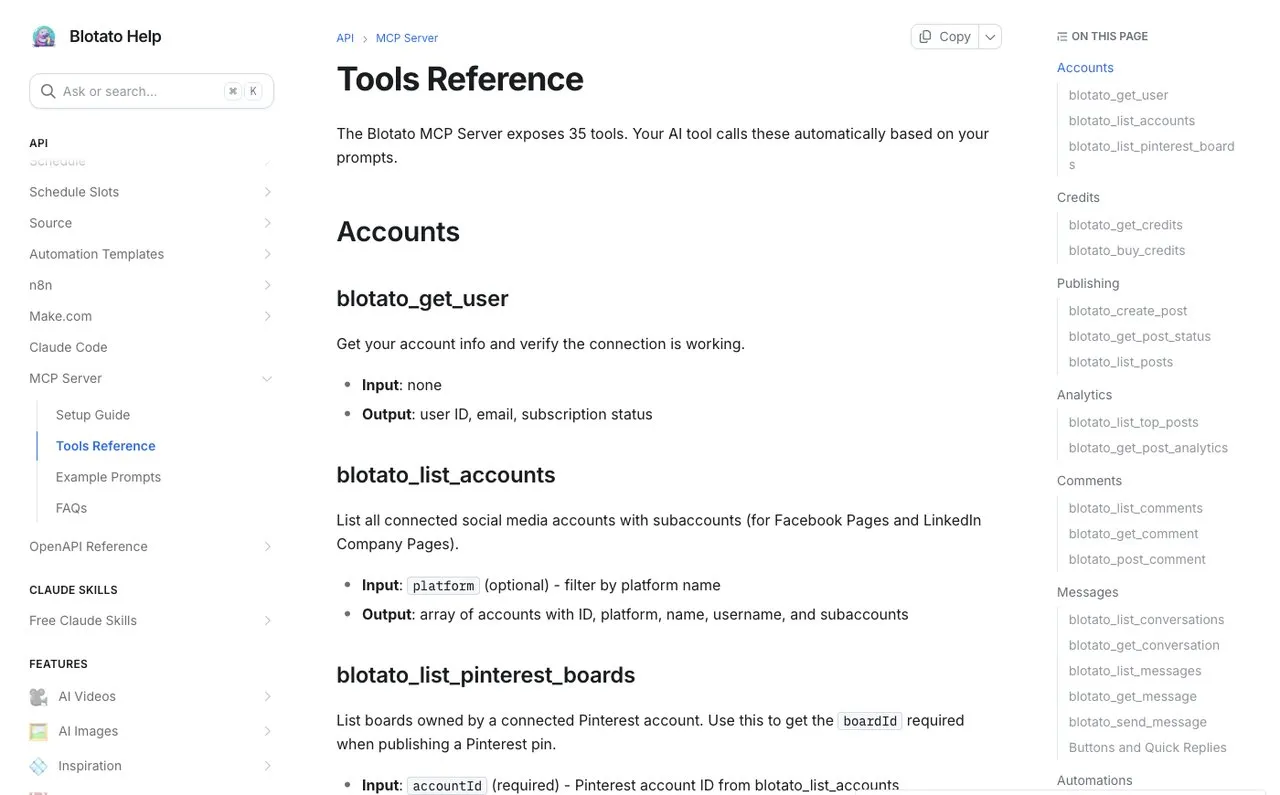
Blotato’s MCP tools do not accept local file paths either, and that constraint is what makes the handoff explicit rather than magic. It is three calls: blotato_create_presigned_upload_url returns an upload URL and a public URL, you PUT the raw file bytes to the first, then pass the public URL to blotato_create_post. Your agent runs all three without leaving the conversation, so the render and the scheduled post are one continuous action instead of two tools and a file transfer.
Ask your agent which accounts it can see first, and confirm it returns the right Instagram account before scheduling anything. Have it draft the Instagram post text for each video, review that copy and the videos together, then give it dates and times. All three of mine showed up in Upcoming Posts with their post text attached.
One spec detail worth knowing: Instagram video publishes as a Reel, which wants 9:16 at 1080x1920 or 720x1280, and runs from 3 seconds to 15 minutes. A 30-second vertical export at 1080x1920 clears all of it. If Reels are the format you want to run repeatedly, automating Instagram Reels covers the scheduling side in more depth.
The Prompt I Used
Fill in the brackets and paste this into your agent.
I want to turn the photos and videos in this folder into content for my business.
Media folder: [full folder path]
Business: [name and what you sell]
Promote: [product, service or offer]
Audience: [who it's for]
After watching, I want people to: [visit, book or buy]
Make: [1 or 3] different 30-second vertical videos for Instagram.
Style: [use my branding / use my reference images / suggest a style]
Audio: [my recording / music and text / no added audio / help me choose an AI voice]

Use DaVinci Resolve MCP and its editing skills.
Check the connection and confirm the name of my open Resolve project.
If it isn't connected, use https://github.com/samuelgursky/davinci-resolve-mcp
to help me set it up for my computer and Resolve version.
Include Python and the bridge if needed. Explain any steps I need to do myself.
Keep existing projects and connections intact.

Choose files that fit my offer. Ask for missing details, don't invent prices,
claims or reviews. Keep my original files intact.
Show me the opening, shot order and on-screen text. If I'm making several
videos, give each a different opening and message.
Make a short preview with my footage and proposed titles. Let me request
changes and approve it before making the full edit.
Use my chosen audio. If there's narration, add readable captions and keep
music below the voice.

Finish the approved edits and export each as a 30-second, 9:16 MP4 at
1080 x 1920. Check playback, duration, framing, text and audio.
Show me the exports and save the editable Resolve project.
Draft captions with any required music credit. After I approve the videos
and captions, ask for my Instagram account, dates and times.
Schedule through Blotato, then show me the confirmation.
Pro Tips for Editing With an AI Agent
Start with one video, then ask for variants. Three at once means three times the rework when the style is wrong. I got my three by approving one direction and asking for different openings.
Give it reference images instead of adjectives. “Make it feel warm and artisanal” produced fonts I rejected. Three screenshots of coffee branding fixed it in one pass.
Ask it to inventory the folder before it plans anything. Having it list what it found, clip by clip, catches a file it cannot read or a photo you forgot was in there, before that surprise shows up in a finished render.
What This Workflow Can’t Do (Yet)
Audio mixing through the connection was unreliable for me. Music volume had to be adjusted outside Resolve and brought back in, which is a real gap when the whole point is staying in one conversation.
The free path is version-locked. Free 21.1 removed Python scripting, so the bridge is a 21.0.x setup until that changes, and updating Resolve can quietly break your pipeline.
It also cannot rescue weak source material. It picks and orders your clips competently, but shaky or badly lit footage comes back as a well-structured video of shaky, badly lit footage. The agent handles assembly, not cinematography.
Results You Can Expect
In my run I finished with three different 30-second videos from one folder of shop photos, each with its own opening, title treatment, on-screen text, voiceover, and music. All three went to Instagram on a schedule I picked.
The realistic promise is not that AI replaces an editor. It is that the photos already on your phone stop being dead weight. Every paid Blotato plan covers the publishing side of that loop across nine platforms, so the same render can go to TikTok or YouTube Shorts through the same agent, once you have checked each platform’s caption and format rules. The per-platform quirks are collected in how to post to social media with Claude.
Sabrina’s Final Take
This is the first setup I have used where the agent genuinely closes the loop from raw files to a scheduled post, and the free version still gets you there if you stay on 21.0.x. It is not magic, the audio mixing is rough and you will restart the bridge more than you would like. But for a business owner with a folder of photos and no editing skill, it removes the exact step that has been stopping them for years. Try it with ten files and one video before you promise yourself a content calendar.
DaVinci Resolve MCP FAQs
Can I use DaVinci Resolve MCP on the free version?
Yes, on 21.0.x. Blackmagic gates external scripting to Studio, so the open-source server reaches the free edition through a bridge script that runs inside Resolve and re-exports the connection locally. I ran this build on free 21.0.3 and it worked. I have not tested free 21.1, where Python scripting moved to Studio, so treat the bridge as a 21.0.x path.
Do I need DaVinci Resolve Studio for the native MCP server?
Yes. The MCP server built into DaVinci Resolve 21.1 is Studio only, and Studio is a one-time $295 license. CineD’s release coverage names Claude, Claude Code, and ChatGPT Codex as supported assistants, though the reported roster varies between outlets, so check the release notes for your build.
Which AI agents work with DaVinci Resolve MCP?
The open-source installer configures Claude Desktop, Claude Code, Cursor, VS Code, Windsurf, Zed, Continue, Cline, Roo Code, OpenCode, Codex CLI, and JetBrains IDEs. I ran this build on GPT-6 Astra inside Codex.
How does the rendered video get from Resolve to social media?
Your agent uploads it first. Blotato’s MCP tools do not take local file paths, so the agent requests a presigned upload URL, PUTs the file bytes to it, and passes the returned public URL when it creates the post. The same public URL can then be scheduled to any of the nine connected platforms in the same conversation, which is why the render and the post do not have to be two separate jobs. Instagram video publishes as a Reel, so export 9:16 at 1080x1920 or 720x1280.
Is the DaVinci Resolve MCP server official?
The one built into Resolve 21.1 Studio is official. The open-source server I used is a community project by Samuel Gursky, MIT licensed, and it is what makes the free edition workable.